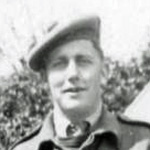
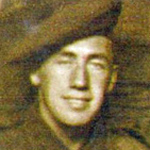
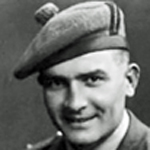
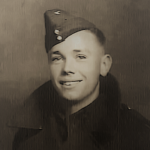
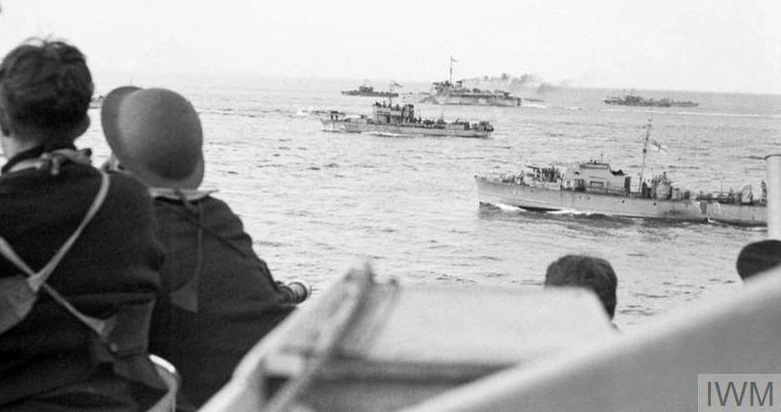
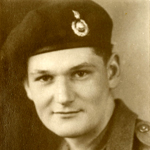
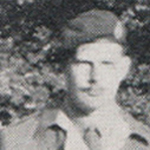
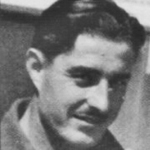
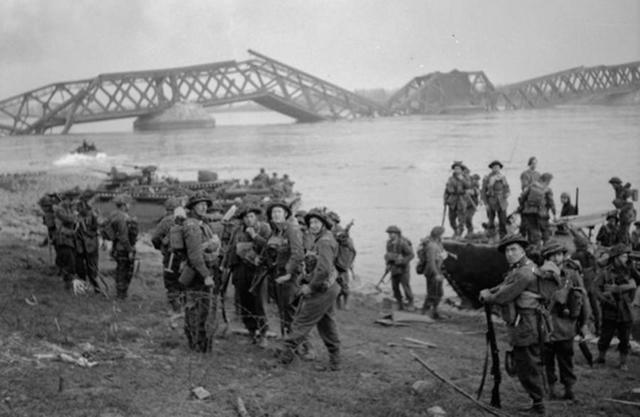
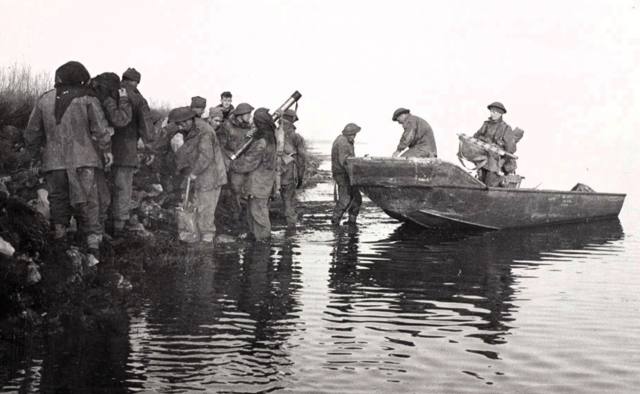
No. 1 Commando: Operation Bizerte
Appendix 1: December 1942
Troop Commanders reports
Authors: Various
Copy of original document supplied by: John Mewett
Transcribed by: Jennie Barlow
NA Document ….no Ref Number
TROOP COMMANDERS' REPORTS
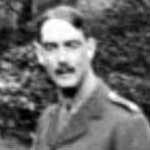
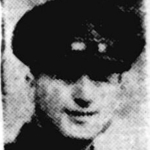
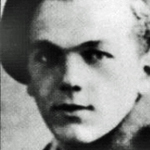
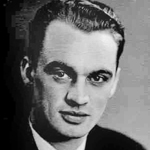
Lt. D.H. Cowap (Capt. Morgan's Troop)
Bad landing; wireless set drowned and we had no W/T communication for the whole operation. Left beach 0245 hrs. on D.1.
At first light found ourselves at pt. 510014. Carried on and heard firing from area 545965 and assumed it to be Lieut. Holt's Troop which was on our left. Started up valley leading to high ground 573980 and heard firing to our Right which was coming over our heads. Sent out recce parties to our Right, found enemy firing at Capt. Bradford's Troop on our Left.
At about 1100 hrs. going up forward slope came under concentrated mortar fire which appeared to be from a good way off (1000 yards). Had two casualties here before getting out of range.
At 1130 hrs. runner came from Lt. Thompson's Troop to say that it had been fired upon and had had to keep their heads down from 0900 to 1100 hrs. in same area as that in which we had been mortared. Capt. Morgan and I climbed on to ridge and found we had got almost exactly to the right spot at pt. 577988. Owing to no scrub and very open country it was quite impossible to go down forward slope in daylight.
At about 1400 hrs. saw one sand-coloured 30-cwt and motor-cycle travelling down road from FERRYVILLE in Westerly direction. Got Troop to dig slit trenches and it was about 1500 hrs. that Lt. Petty told us that Capt. Bradford was on our Left and owing to nature of ground was withdrawing to higher ground, and we also decided to withdraw to the hills where there was some scrub.
At about 1700 hrs. on D.1. I heard fire and saw enemy carrier with what appeared to be a 2-pounder gun. I ran back to try and get somewhere near the position and saw that a light tank was blazing away directly into the slit trenches, and one of my L.M.Gs. was put out of action immediately. My other Bren gunner did very well and kept tank back enabling No. 2. Section to withdraw, which they accomplished. The Light Tank came up directly in the setting sun and hit the tank but seemed to have no effect. By this time Capt. Morgan had been killed and his last words were "Tell No. 2. Section to get back and the other to give covering fire".
Pte. Williams 83 kept up accurate L.M.G. fire and apparently wiped out enemy Section trying to get Machine gun into position, so that enemy machine gun never actually got firing. L/Sgt. Jones saw four lorry loads of enemy infantry come slightly off the road and unload as it was getting dark.
I took remainder of Troop back to position 543985 which took about 4 hours, arriving there about 2400 hrs. Sent out a patrol to find Troop signalers; and get maps etc. off Capt. Morgan. Lt. Kiaer and his Section withdrew on Capt. Morgan's orders.
At 1100 hrs. on D.2. Capt. Craven's Troop started to come through, which I followed, and joined Left Half H.Q. I remained attached to Capt. Craven's Troop throughout the remainder of the Operation.
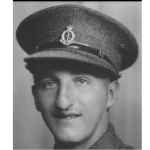
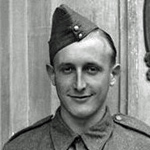
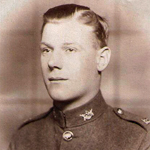
Lieut. A.J. Davies (Capt. Bradford's Troop)
We were second Troop off beach and marched on bearing of 135 degrees and at first light arrived in area 545995, but discovered we had another three hills to cover before arriving at our position overlooking road half-way between Road Junctions. Capt. Morgan came up to tell us their position and all that they had seen.
We moved back to White Building with 8 or 10 men from Lt. Thompson's Troop, where we arrived at about 1500 hrs. After about half an hour, we saw the German A.F.V. and after 20 mins. a Sgt. and two men from Capt. Morgan's Troop came up and told us that their Troop had been heavily engaged on the hill and that Capt. Morgan was killed.
A wireless message was received to attack the aerodrome with Capt. Craven's Troop.
Left White House at 1700 hrs. to R.V. with Capt. Craven's Troop at approx. 0100 hrs. We left the R.V., not having seen Craven's Troop and continued on the road towards BIZERTE. Moved from position leaving certain men who were incapacitated and wireless men. Could not find Capt. Craven's Troop. The men were tired after moving across ploughed clay.
We came up on to road at 630005 and cut telephone wires, using the wire as trip wire. At road junction 655012 there were slit trenches in very bad state of repair (milestones indicated this to be 6 Km. from BIZERTE). Again cut wire and put up trip wire.
Having seen no enemy activity we started back and lay up night at about 0430 hrs. in a position in hedgerow. At about 0600 hrs. when we had rested we could see we were at pt. 603990. Capt. Bradford decided that the Troop would cross the open country in twos and threes towards the hills. About three quarters of the Troop had got across when some Frenchmen on the South side started firing - these Frenchmen were west of the farmhouse we were making for. On the Left there was spasmodic firing (the supposed Frenchmen were Germans wearing French uniform).
I went up into the hills where I met T.S.M. Coleman and he told me he thought Lt. Petty was killed, and that he and a Medical Orderly had left the hedgerow and when about 600 yards away saw 6 or 8 Germans throw grenades and saw Lt. Petty and his batman fall, then his batman rise with hands up and pointing to the ground apparently where Lt. Petty was lying. The Germans then threw a further three Grenades at Lt. Petty.
I took the Troop to the Troop R.V. White House, which was about half a mile further on. It appeared that 6 men who had gone round the Left flank were captured by the Germans. Capt. Bradford turned up after about half an hour and gave orders for the Troop to rest for about two hours.
At about 1000 hrs. on D.2. whilst proceeding to White House, I saw a convoy of about 200 vehicles moving up the road at pt. 590970 and proceeding S.W. There were motor-cycle combinations and about 10 large trucks moving close, together and slowly.
At about 1700 hrs, the first bullet hit the White House and the firing continued for about 10 minutes. Capt. Bradford sent me round to the back of the house to see where it was coming from, but I could see nothing. Just afterwards Capt. Bradford came round himself and was hit. He could not move his legs and L/Cpl. Tuffy (Medical Orderly) attended to him. I gave orders that Capt. Bradford was to be evacuated and that covering fire was to be given. A stretcher was made out of two rifles and toggle ropes, and we attempted to get to a ridge but Capt. Bradford died on the way up and we buried him there. The last words spoken by Capt. Bradford were "Tell Mr. Davies to get the men away from this position" spoken to Medical Orderly.
On Thursday morning D.3. we withdrew over the hills and found ourselves near the beach where we had landed. From there we travelled along the coast to CAP SERRAT where a friendly Frenchman provided two meals for 64 men (i.e. ourselves and 16 men from Capt. Davidson's Troop).
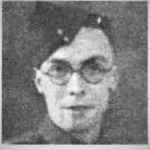
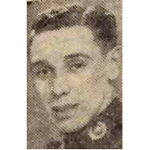
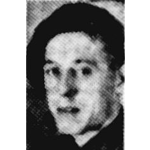
Capt. J. Craven
We landed at 0300 hrs. and those who landed first got a bad landing, but the others only got wt to their waists.
We moved away on a bearing of 162 degrees and arrived at position of RIGHT HALF Commando H.Q. at about 1000 hrs, staying in this position during D.1. Saw nothing until about 1400 hrs. when we observed people coming from the S.W. and it turned out to be Capt. Davidson's Troop.
Received orders to contact Capt. Bradford and with him, attack aerodrome (BIZERTE) or other enemy positions in that area.
We made a very good pace and did not stop until just before it got dark. I could not get any information either from Commando H.Q. or Capt. Bradford's Troop by our wireless.
We waited from 2000 to 2100 hrs. but saw no sign of Capt. Bradford's Troop so we moved back to area 603014. Reached dry river bed at about 2200 hrs. and rested there until 0200 hrs. Capt. Bradford still did not show up so in the morning I decided it was no use us staying there and went back to where Capt. Bradford should have been.
Reached position 575975 where we were on top of forward slope of hill with a little scrub for cover. I then took Troop farther down to look for better cover but found none, and at about 0600 hrs. on D.2. told the men to get into position on side of hill.
On hill Pt. 565975 (marked 127) we could see some people moving about and I decided to love my position and sent out a Section under Lieut. Davison to find who was on this hill.
Everything seemed alright when a man appeared wearing Green Beret and Gas Cape and asked Lt. Davison to surrender. I saw 20 people come up behind us and was just waiting for the reports to come when the battle opened up.
I sent Lt. Turnbull on the right flank. Lt. Davison's Section was firing back, and I moved across the open ground on the left flank myself. Machine Gun fire opened up at about 300 yards away and I decided to bring No. 2. Section back when I noticed an enemy A.F.V. was also firing as us, though this did us no damage. I told Lt. Davison to carry on giving covering fire. Then the enemy reported in the rear came up and I placed No. 2 Section in position to counter this, and I thought I was now in a good position. Lt. Turnbull shouted that he was held up, and shell firing started, so I decided to withdraw. Myself and 17 men got over the hill and Lt. Davison and Lt. Turnbull withdrew from what apparently must have been a trap.
At dawn on D.2. I was ordered to set off to Left Half H.Q. Arrived there just about 1400 hrs. when the battle on road had just started.
From then on I came under Major Trevor's command and moved that evening with Left Half H.Q.
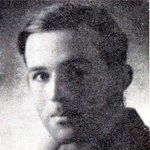
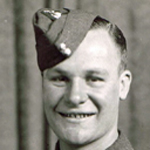
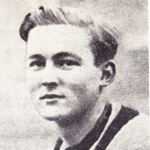
Sgt. Scissons (Lt. Holt's Troop)
We landed at approx 0315 hrs. in the centre. The water was waist high. Our position was to be on the right flank of the Right Half near 5595. It was rough going most of the way with high scrub.
At 0730 we contacted Left Half H.Q. who shouted to us that we were too much over to the West. We immediately went directly East. We came over a high range of hills. The head of the Troop were 75 yards from a building near the road in a valley when we heard aircraft and had stopped. We heard no sound of firing or encountered any enemy or own Troops. A Machine Gun opened fire from this building and must have hit some men as I heard men shouting for the Medical Orderly (time 1100 hours D.1.). On our Right flank on a ridge about 50 to 75 yards away were German T.S.M.G's. After the first few volleys a 3" Mortar opened up. The head of the column had opened fire and we bagged the T.M.S.Gs. We were pinned down and I withdrew under cover to try a flanking movement. We went back 150 yards and crawled across the ground. On reaching a hill north of the T.S.M.G. position I had only four men with me. We were on the opposite side of the hill to the bridge and I ordered three men to go around the left side of the hill, and myself and one man went round the other side. One of the three men on the left side was killed by T.S.M.G. I shouted to the men on the left side of the hill to withdraw and I would cover them. Before I withdrew myself I was able to shoot one T.S.M.G. as he tried to fire at the three men withdrawing. Four of us were now left. The rest of the Troop were still down in the valley and were machine gunned from the air. I decided to withdraw to higher ground and contact another Troop. We had not gone far when we were fired on again by T.S.M.G. We found a good piece of cover and awaited darkness. While we were there about 1500 hours another Troop came into the position (Capt. Davidson's).
At 18.15 hours we moved and travelled 2 miles towards Right Half H.Q. and got a sleep in a good position until 0530 hrs. D.2. We moved on D.2. North West and contacted Pollitt's Troop at 0700 hrs. We remained with him during D.2. until he took us to Martin's Troop in the evening.
During withdrawal on D.3. we joined the reserve Troop (Marshall's).
Note: The Arabs in our first position on D.1. were pointing out our position to the enemy.
S/Sjt. McFarland (Lt. Thompson's Troop)
We landed at 0215 hrs. about the centre of the flotilla. We had to wade with water up to our armpits. We were to take up a position in Left Centre. Our route was generally South. The route was rough going crossing many hills covered with scrub waist high. We reached a hill at 5102 and thought we were close to the main road. Lieut. Thompson ordered me to move to the Right and take up a position, one Sub-section covering the road and one Sub-section in our rear. From this time I never saw Lieut. Thompson or the other Section again.
1000 hrs. D.1. I started down the valley with my Section and realised I was a long way from the road. When I got a position where the river runs North and South (5400) I heard shooting on our Right front about 1 mile away. I continued on my route toward my position and got about half a mile S.E. from the river when we were fired on by two machine guns and Snipers. Nobody was hit. We carried on and the firing ceased. We shortly afterwards met Morgan's Troop who were under fire at that time. We thought firing came from Lt. Holt's Troop in error. Capt. Morgan thought so also. We carried on to our position at 5998 and found Capt. Bradford's Troop there. We took up our position in conjunction with Bradford's Troop. This was about 1530 hrs. D.1. I gave the order for the men to cover the road. One motor-cycle passed from West to East but we let it go through. A car came along the road from BIZERTE containing two officers? and one corporal. They stopped opposite our positions. The German came up to our position and started firing on one of these sub-sections. He was shot. He was searched and his papers retained and have been handed in. The two Officers turned and escaped in their car. Capt. Bradford called me over and told me he was moving back three quarters of a mile, into a new position. He gave me the option of staying with him and attacking the aerodrome or returning to find Lt. Thompson. I decided to look for Lt. Thompson (1730 hrs. D.1.).
At 1800 hrs. Capt. Bradford's Troop departed and we remained with five men of Capt. Bradford's Troop who had been left behind. We could see fighting near the road on our right so we decided to withdraw further into the hills where we spent the night.
D.2. We tried to contact our own Troop without success during the day. We spent the night further to the West.
D.3. Withdrew along the road to Cap Serrat, where we picked up four men from Capt. Davis's Troop and reached R.J. CAP SERRAT at 1000 hrs: D.4.
Our rations were 1 Tin of bully, 1 packet of biscuits, tea, chocolate and cigarettes. We bought eggs and chickens from the Arabs.
We carried 200 rounds per T.S.M.G.
1000 rounds per B.A.R.
48 rounds per rifleman
We expended 30 rounds.
Capt. Davidson
Approached march similar to Capt. Pollitt's Troop. Parted from Capt. Pollitt in sq. (5197) as we had to travel farther East. We worked down to Pt. 524958 where we found we had a very good view of the road from the corner Westwards, and we placed our sniper there with telescope, which was about 1030 hrs. on D.1. We took up position at 523954. Heard firing on our left which we took to be Lt. Holt's Troop as we understood that his was the next Troop on our flank. We noticed that there is a ridge (not shown on map) running practically along the grid 95 which was actually higher than the one we were on. I thought it would be a good thing if we pushed on, and at about 1130 hrs. an Arab rushed down waving his arms and two machine guns opened up on our left front from Pt. 527950. We immediately got down and L/Cpl. Rogers opened fire with Bren, but was hit and knocked out and his gun put out of action. I called out to the Section Sergeants to work their men back. I gave the order to withdraw in a North West direction and most of the men started working themselves in this direction while exchanging fire with the enemy. An armoured car started working up from the road at Pt. 524947 and opened fire with heavy and light Machine Guns at 500 yards range, and most of the Troop headed due north into the hills as all of the lines of withdrawal were dangerous. I eventually got to 523955 with about half my H.Q. Section. The Mortar man laid three smoke bombs which he had, but the wind was not favourable. I knew that approximately 20 men did get over the brow of the hill and the smoke helped a few more.
We R.V'd. at Pt. 517997 and there were 27 men, apparently all the men who remained were in exposed positions and could not move. Lt. Gardner-Jones got out of the positions at 1600 hrs. and Lt. Gardner at 1500 hrs. The Sergeant Major in charge of part of the Troop apparently failed to find Commando H.Q. and found themselves so far back in the hills that they could see the stranded A.L.C.'s. on the beach, and so they made their way back along the coast to CAP SERRAT (Commando R.V.). All the men extricated themselves safely.
Lt. Gardner during his withdrawal to CAP SERRAT was told that three Frenchmen had been shot by the Germans for supplying food to the British Troops.
At about 11.00 hrs. on D.1. I had seen what I took to be M.T. Vehicles burning with a pale grey smoke at Pt. 490910.
Capt. Davies
Landed at 0300 hrs. in Left Flank boat. Got ashore practically all together and were first away from the beach. Marched on compass course of 180 degrees. Very bad country and estimated speed was one mile per hour. It was about 0830 hrs. before we definitely knew our position 5096. Found Marshall and Left Half H.Q. Lt. Marshall moved off immediately to his position. There was no traffic of any kind on the road. Crossed river bed and under bridge (not shown on map) and came to what I thought was one mile behind our position at 1500 hrs.
Moved just before dusk to (495925). Party on road to act as road block.
My H.Q. was within 200 yards of road. Lt. Martin on my right whom I contacted early on D.2. Nothing happened except some firing from area East of our position.
In the afternoon of D.2. enemy Motor Cycle came through and I let it go under the impression that Capt. Pollitt was still in his position. Later received message we were to deal with everything on road as Martin and I were the only Troops actually on the road at the time.
Just before dusk received message to close on river bridge 4993 and just at dusk took up position, with one section on road. Late that night another enemy motor cycle came down the road (German pilot of the Afrika Corps who was quite definitely drunk and who gave information that an attack was coming from the BIZERTE direction, he said that New Zealanders cut prisoners throats).
During next day D.3. Lt. Martin took over my prisoner and placed him with other prisoner in house.
Around 1400 hrs. fire was opened from cover of woods.
Enemy gun and Machine gun fire on our road position from about 600 yards range, was pretty accurate. Reported that four coloured armoured cars were approaching and I saw two eight wheeled sand coloured armoured cars. As situation became rather critical I went right flanking and the enemy apparently did the same. We did this three times and each time the enemy did so too. One of my patrols reported that Germans now occupied position 4993. A rifleman reported, which was quite true, that an enemy tank was coming in over the hill (this tank was about 500 yards range and was in the scrub about hull down so that I could just see the gun turret and two men's heads. Tank was directed to us by Arabs). Reported tank to H.Q. and received order to withdraw one mile in direction of river - saw another tank come over the hill so withdrew to 474930.
At 1330 hrs. received orders to withdraw a further three miles and then break off action. I arrived in open space as it was getting dark so decided to take up position at 453957 where we lay up for the night.
(D.4.) Withdrew a further three miles West and contacted Marshall's Troop at 413962. Then received orders to withdraw to White House 390947.
Our rations lasted three days without outside aid. Wireless still working well.
Lay up on fifth night in area 380940 with Marshall and Martin's Troop.
Arrived crossroads at 1430 hrs. on D.5.
Capt. Pollitt
Arrived on beach and were third boat to the right. Bad landing. Moved off together with Capt. Davidson's Troop. Hard going but did not stop until we arrived in area 5197. On way up Arabs reported that there were Germans in their village but Capt. Davidson could not find any. Arrived R.V. between 0900 and 1000 hrs. One section searched Arab villages in area.
Whole Troop halted at 514957 and I went forward with party on to road to make reconnaissance of the area. One section took up position facing BIZERTE. Number 2 Section went down forward slope. At 506944 put road block (heavy stones etc).
Heard considerable firing from the Left flank but could see nothing. Firing went on and I saw some Mortar smoke, but patrol could not find anything. Could not get into wireless communication with Capt. Davison's Troop on Left flank. Remained here until nearly dark. Moved back into area 951514 and had something to eat, leaving one section in position overlooking the road blocks.
After dark this Section withdrew and was replaced by a patrol which saw nothing. On D.2. received order to recce. area on my left (Capt. Davidson's). Acting on information from one of Capt. Davidson's men we moved eastwards and saw enemy on hill 523936. Found that three of four probable enemy machine gun posts were on right flank and decided to attack them at night. As Troop had had no rest with withdrew about one mile into the hills and I gave orders for everyone to feed and take rest, as we would attack at night. Just then orders came through for us to attack valley at 2000 hrs. Later received fresh orders that we had to harry the enemy in Area 5295. Stood to all night as information was that an attack was expected, and we watched road very carefully as we did not know whether or not the Right Half were coming through our Area.
Remained in position on D.3. and sent out one patrol to see that there was no infiltration by the enemy. Suddenly enemy A.F.V's. reported coming up from South West.
One Section proceeded to area 9653, leaving One Section in position; enemy armoured vehicles opened fire on them. Section withdrew and took up a position about a quarter of a mile back parallel to road. We saw the eight wheeled armoured cars come down road and open shell and machine fire. These were fired on by our L.M.G's. and riflemen with A.P. We withdrew to area 512954. The idea was to go back into that area to search for a wounded man, find an Anti-tank rifle, and see if the area was occupied. We withdrew and decided to go in again at night. Our position was 505966. One Section was still out sniping. No wireless communication with H.Q. so got through from Marshall's Troop that H.Q. were withdrawing at 1745 hrs. and acting on instructions we withdrew on the main road at 2100 hrs. patrols going down the road to try and contact enemy.
On D.4. moved to R.V. 416962. Moved a further three miles west where we met Major Trevor at 0730 hrs. and withdrew further as ordered. In Area 507945 we found there were enemy weapon pits.
On D.1. we had seen three four - ten lorries coming down road from East and turning back along the road to BIZERTE.
The L.M.G. which covered Left flank expended about 150 rounds of A.P. ammunition, and it did stop the leading armoured car after about half a magazine had been fired.
The Troop expended about 250 rounds of ammunition.
Average man had two tins of stew, half tin of bully, three bars of chocolate and two packets of biscuits.
Lieut. Martin
Landed on sand bar fourth boat from right. Got tangled with No. 6 Troop and were fourth troop from last to move off from beach.
Marched on a bearing of 190 degrees. At 0900 hrs. in position on peak overlooking main road. Rested from 0900 hrs. to 1100 hrs. From then until 1500 hrs. moved to position 92 and 48 grid line. Here I made a dump of surplus ammunition as the Troop had been carrying about 9000 to 10000 rounds.
During first night no activity by enemy or ourselves. At 0400 hrs. sent patrol to Right of Capt. Davis's Troop. At 0700 hrs. moved into position 92 and 49.5 grid. Found some natural trenches and improved them during the morning. One Section East of cross roads 94.5 and 50.5 and the other Section just across the bridge and they kept in position during the afternoon.
Just before dark a motor-cycle with 3 men in it came by and one of the B.A.R's shot it up - killed two and seriously wounded one.
Stood to all night expecting an attack by enemy.
On the morning of D.3. in same position and the food situation was bad. Firing occurred on right, apparently from the hill overlooking Capt. Davis' position. Not very heavy to start with (few automatics and rifle fire).
Drew one sub-section from South side to Northwest side of road on information from Capt. Davis' Troop that German tanks or armoured vehicles were in the vicinity. Withdrew a further 200 yards North side of road because of withdrawal of other Troop on right. Left one sub-section and 2 B.A.R's. in trench and when tank appeared these opened fire, and drew return fire.
I do not think we did any damage to the enemy as the A.P. ammunition was fired at about 800 yards range.
Our radio was practically done and consequently had difficulty in getting proper message about the withdrawal. Discovered we were to withdraw at 1845 hrs. to a position about three miles West into the hills.
At 2400 hours we stopped at 96.8 and 47.8 Grid, and at the first light on D.4. continued to withdraw by picking up track of other Troops in front. Just before noon met Capt. Davies' and Lt. Marshall's Troops in area 96.2 and 41.3.
All three radios were more or less not working but we gathered that H.Q. were waiting for us at White House.
Rested until about 1600 hrs. and then moved two or three miles Westwards where rations arrived.
Next day, D.5. moved to Cross Roads.
Total expenditure of ammunition about 80 rounds.
On average each man took 2 tins of sardines, 3 bars of chocolate and half-packet of biscuits,
Lt. Marshall
Made wet landing 0300 hrs. re-organised on beach and moved off at about 0325 hrs.
Marched on a bearing of 180 degrees, arriving at Pt. 503974 at 0920 hrs. where I contacted Major Trevor and was ordered to hold the Troop. My men ate at this time and had first rest.
At about 0900 hrs. received instructions to move my Troop to Pt. 485958 and await further instructions. Reached position shortly before 1200 hrs. at which time there was an unidentified sand-coloured car on the road some 800 yards to our front. It pulled away before anyone could be sent forward.
Position organised in afternoon, outposts established and patrol put on road to stop any vehicles.
First night quiet with active patrolling and listening posts in area.
Marched that night to SEDJENANE arriving at 2230 hours.
Ammunition expended - NIL.
Rations lasted through the fourth day.


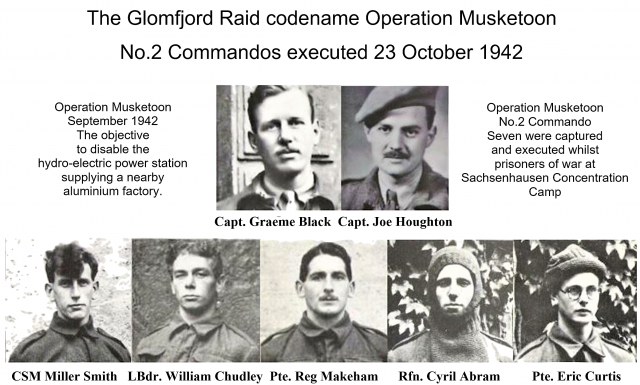
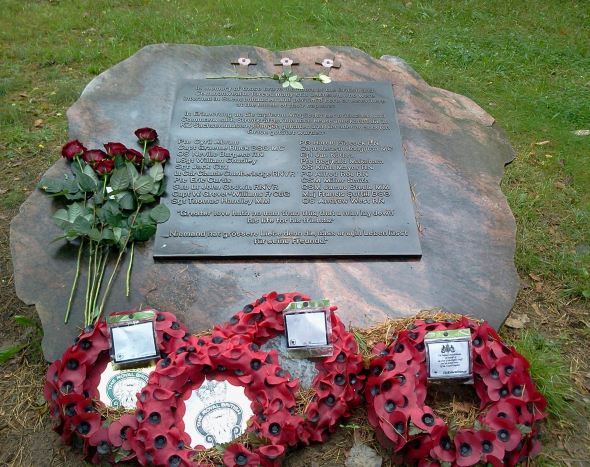
 A combined operations raid on Axis shipping in the harbour at Kopervik, Norway. This raid was a No 14 Commando operation. The raiders managed to sink several ships using limpet mines, but were eventually captured and initially taken to Haugesund for interrogation before being transported to Sachsenhausen Concentration Camp.
.")

")


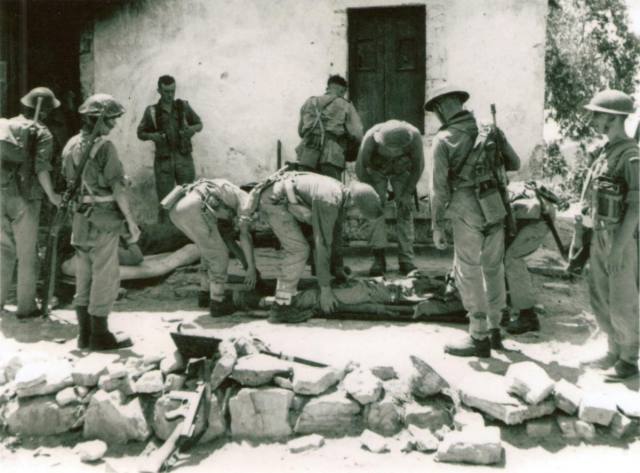

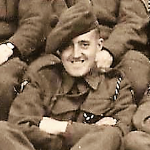
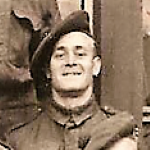
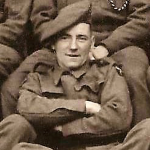
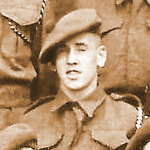
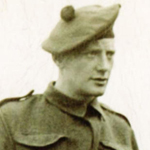
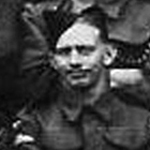
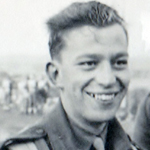
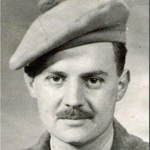
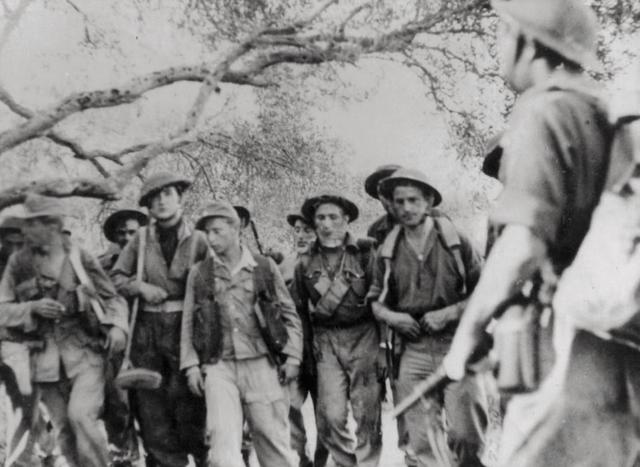
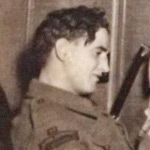
 and Jock Cree (5tp) are on either side of the German prisoner in the middle of the photo. Jock on the right of him as you view the photo.")


")


